Making Seal Impressions
As you know, the first 25 donors from our Annual Appeal are going to receive a clay seal impression (Bulla in Hebrew) that we made from one of our 10th century BCE stamps found in the sifting. Those lucky few will get a bulla and a whole explanation, but we thought we would share the process with all of you as well!
The 10th century BCE falls within the Iron Age and is the time period of the Jebusites, from whom David conquered Jerusalem—as well as the construction of the Temple by his son, King Solomon. Other similar seals found in Israel dating from the late 11th to the beginning of 9th centuries BCE allow us to date our seal to this time period as well. The stamp seal that we used is conical in shape and made of brown limestone. Two animals, one above the other, are carved on its circular base, maybe representing predator and prey. The seal is perforated which enables it to be hung on a string and worn.
- !0th Century BCE Stamp Seal showing 2 animals
- 10th Century BCE stone Stamp Seal

Imer Bulla. Notice it is broken and there is an impression of the sack on the back
In antiquity, legal or administrative documents, or other objects or goods that needed to be authenticated and approved were “signed” using a stamp seal. (Personal items could also be stamped. We have a number of stamped handles from clay vessels that have been found in the sifting.) But how do we get bullae? A document was rolled and tied, or a package of goods was tied with a string. On the knot of the string was a piece of clay that was then stamped with a seal. These seals could either be worn on a string, like the one that we used, or set into a piece of jewelry such as a ring. The bulla is the clay seal impression left behind. In order to open the document or package, the bulla would be broken. This was a great form of protection, but could also be the reason than all of the bullae we have found are broken.
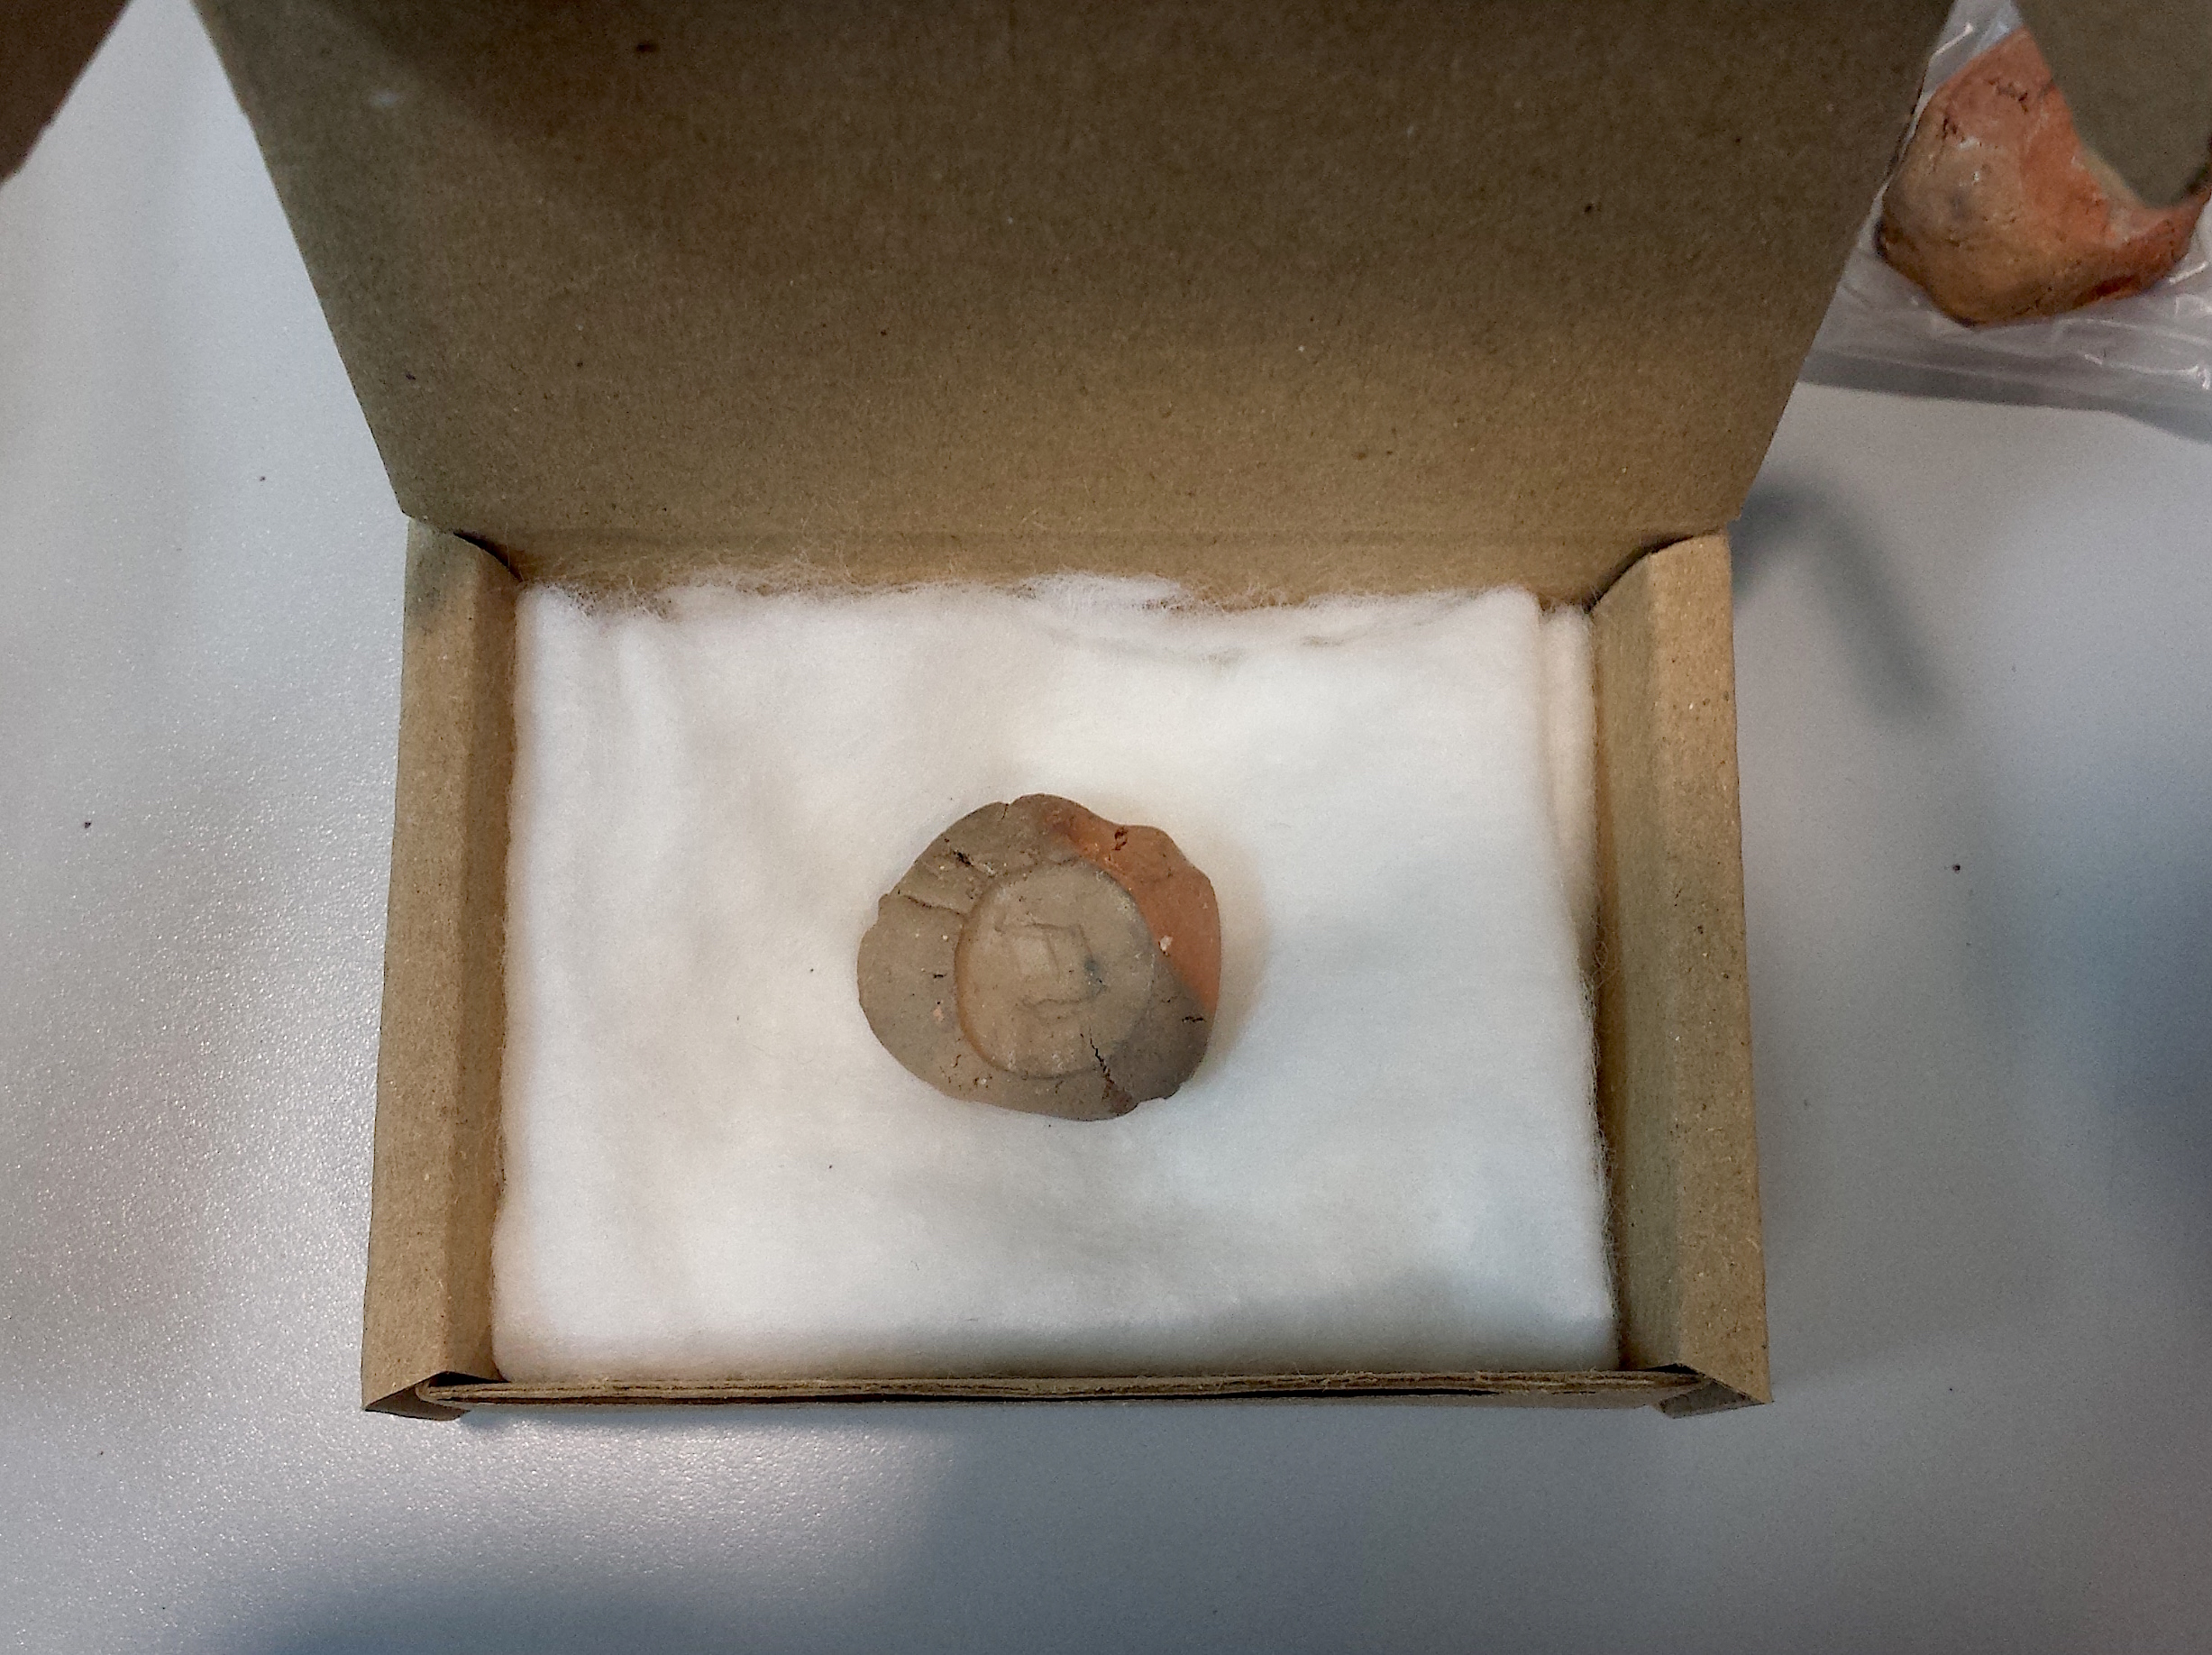
Bulla made in our lab
How We Made the Bullae
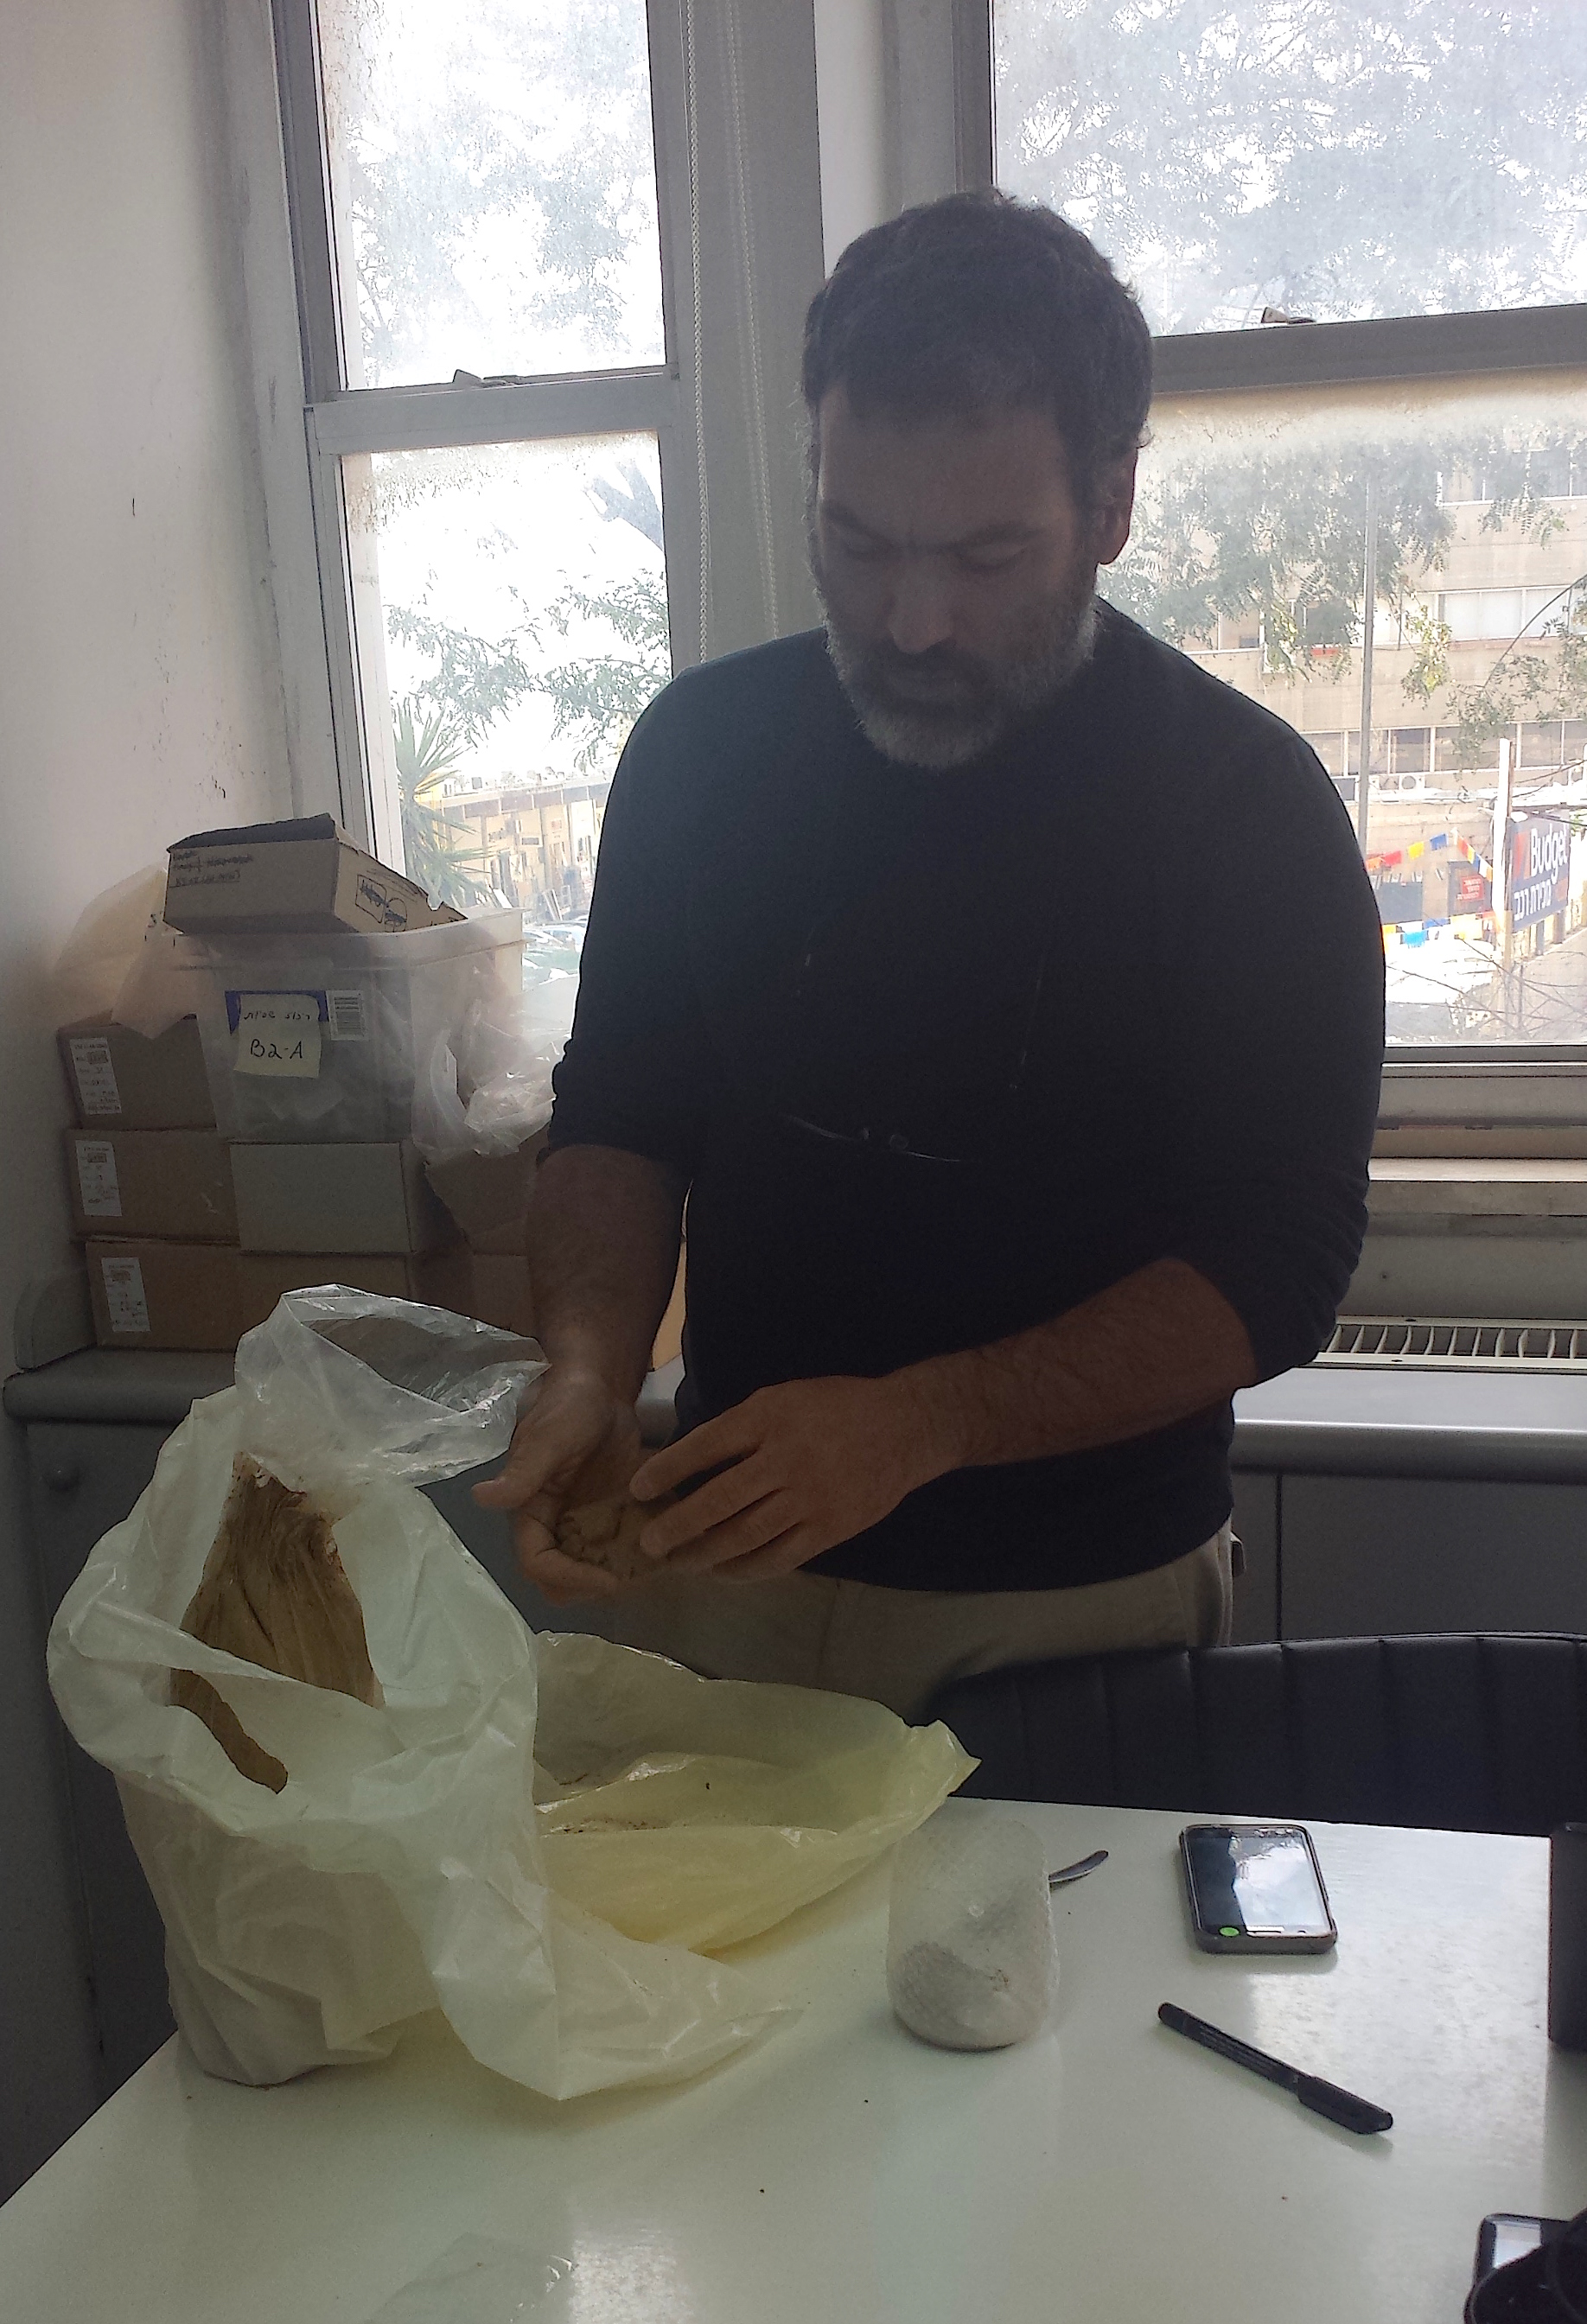
First, we mixed regular store bought clay with some of the ashy Temple Mount soil left over from the sifting. This is called tempering the clay. Untempered clay will shrink and crack during drying or firing. In ancient times, as today, different forms of temper are added to wet clay in order to provide greater strength. Sand, crushed rock, or even crushed broken pottery can be used as temper, and each material, and the percentage of temper used, affects the finished product. Haggai added about 5% Temple Mount soil to the clay. (Right)
Next, a marble sized piece of clay was then folded around a string. We then used the stamp seal to impress the clay onto a sack. (The seal is stone, and was therefore unaffected by the clay. Don’t worry! We take care of our artifacts!) The impressions are real, but they are modern and not an antiquity. We therefore wrote “copy” on the back so that none of these bullae will be mistaken for antiquities or sold on the black market.
Finally, the impressions were burned in a fire. Because fires, unlike ovens, do not have a consistent temperature, some of the bullae blackened while others maintained their brownish color. Some also fell into the ashes. All of this actually made these bullae look much like the seal impressions that we have found at the Sifting Project.
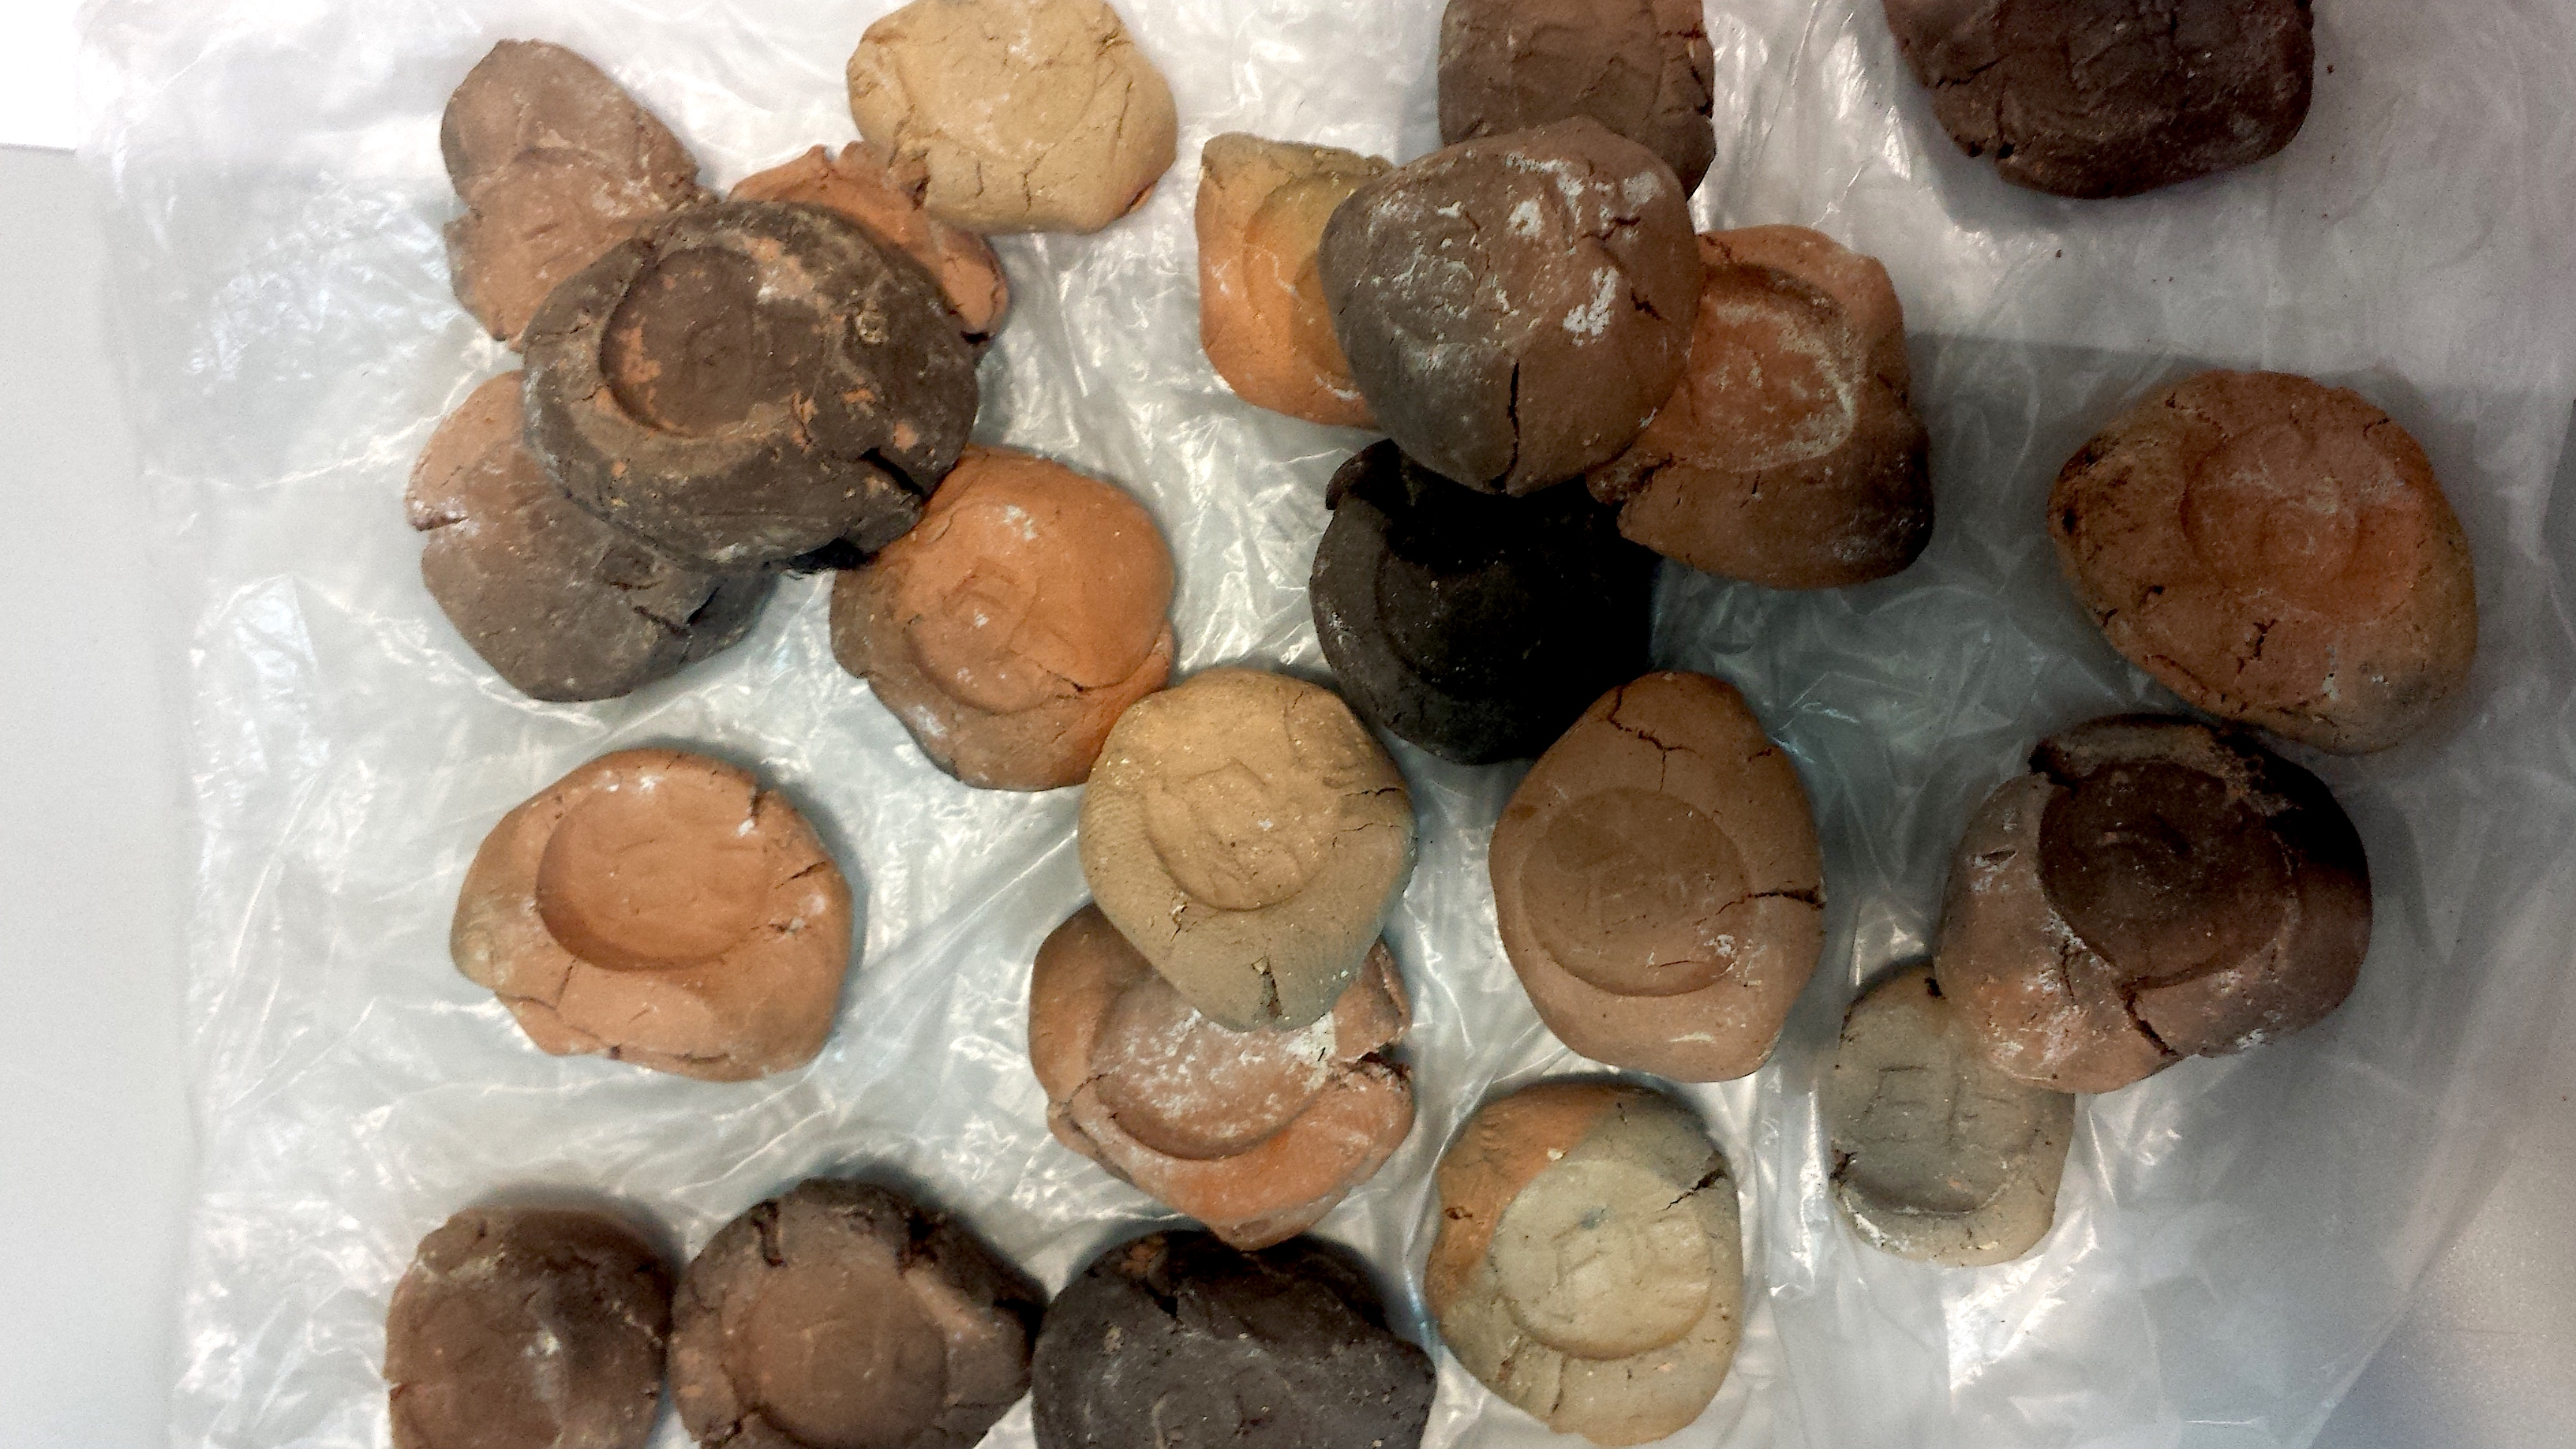
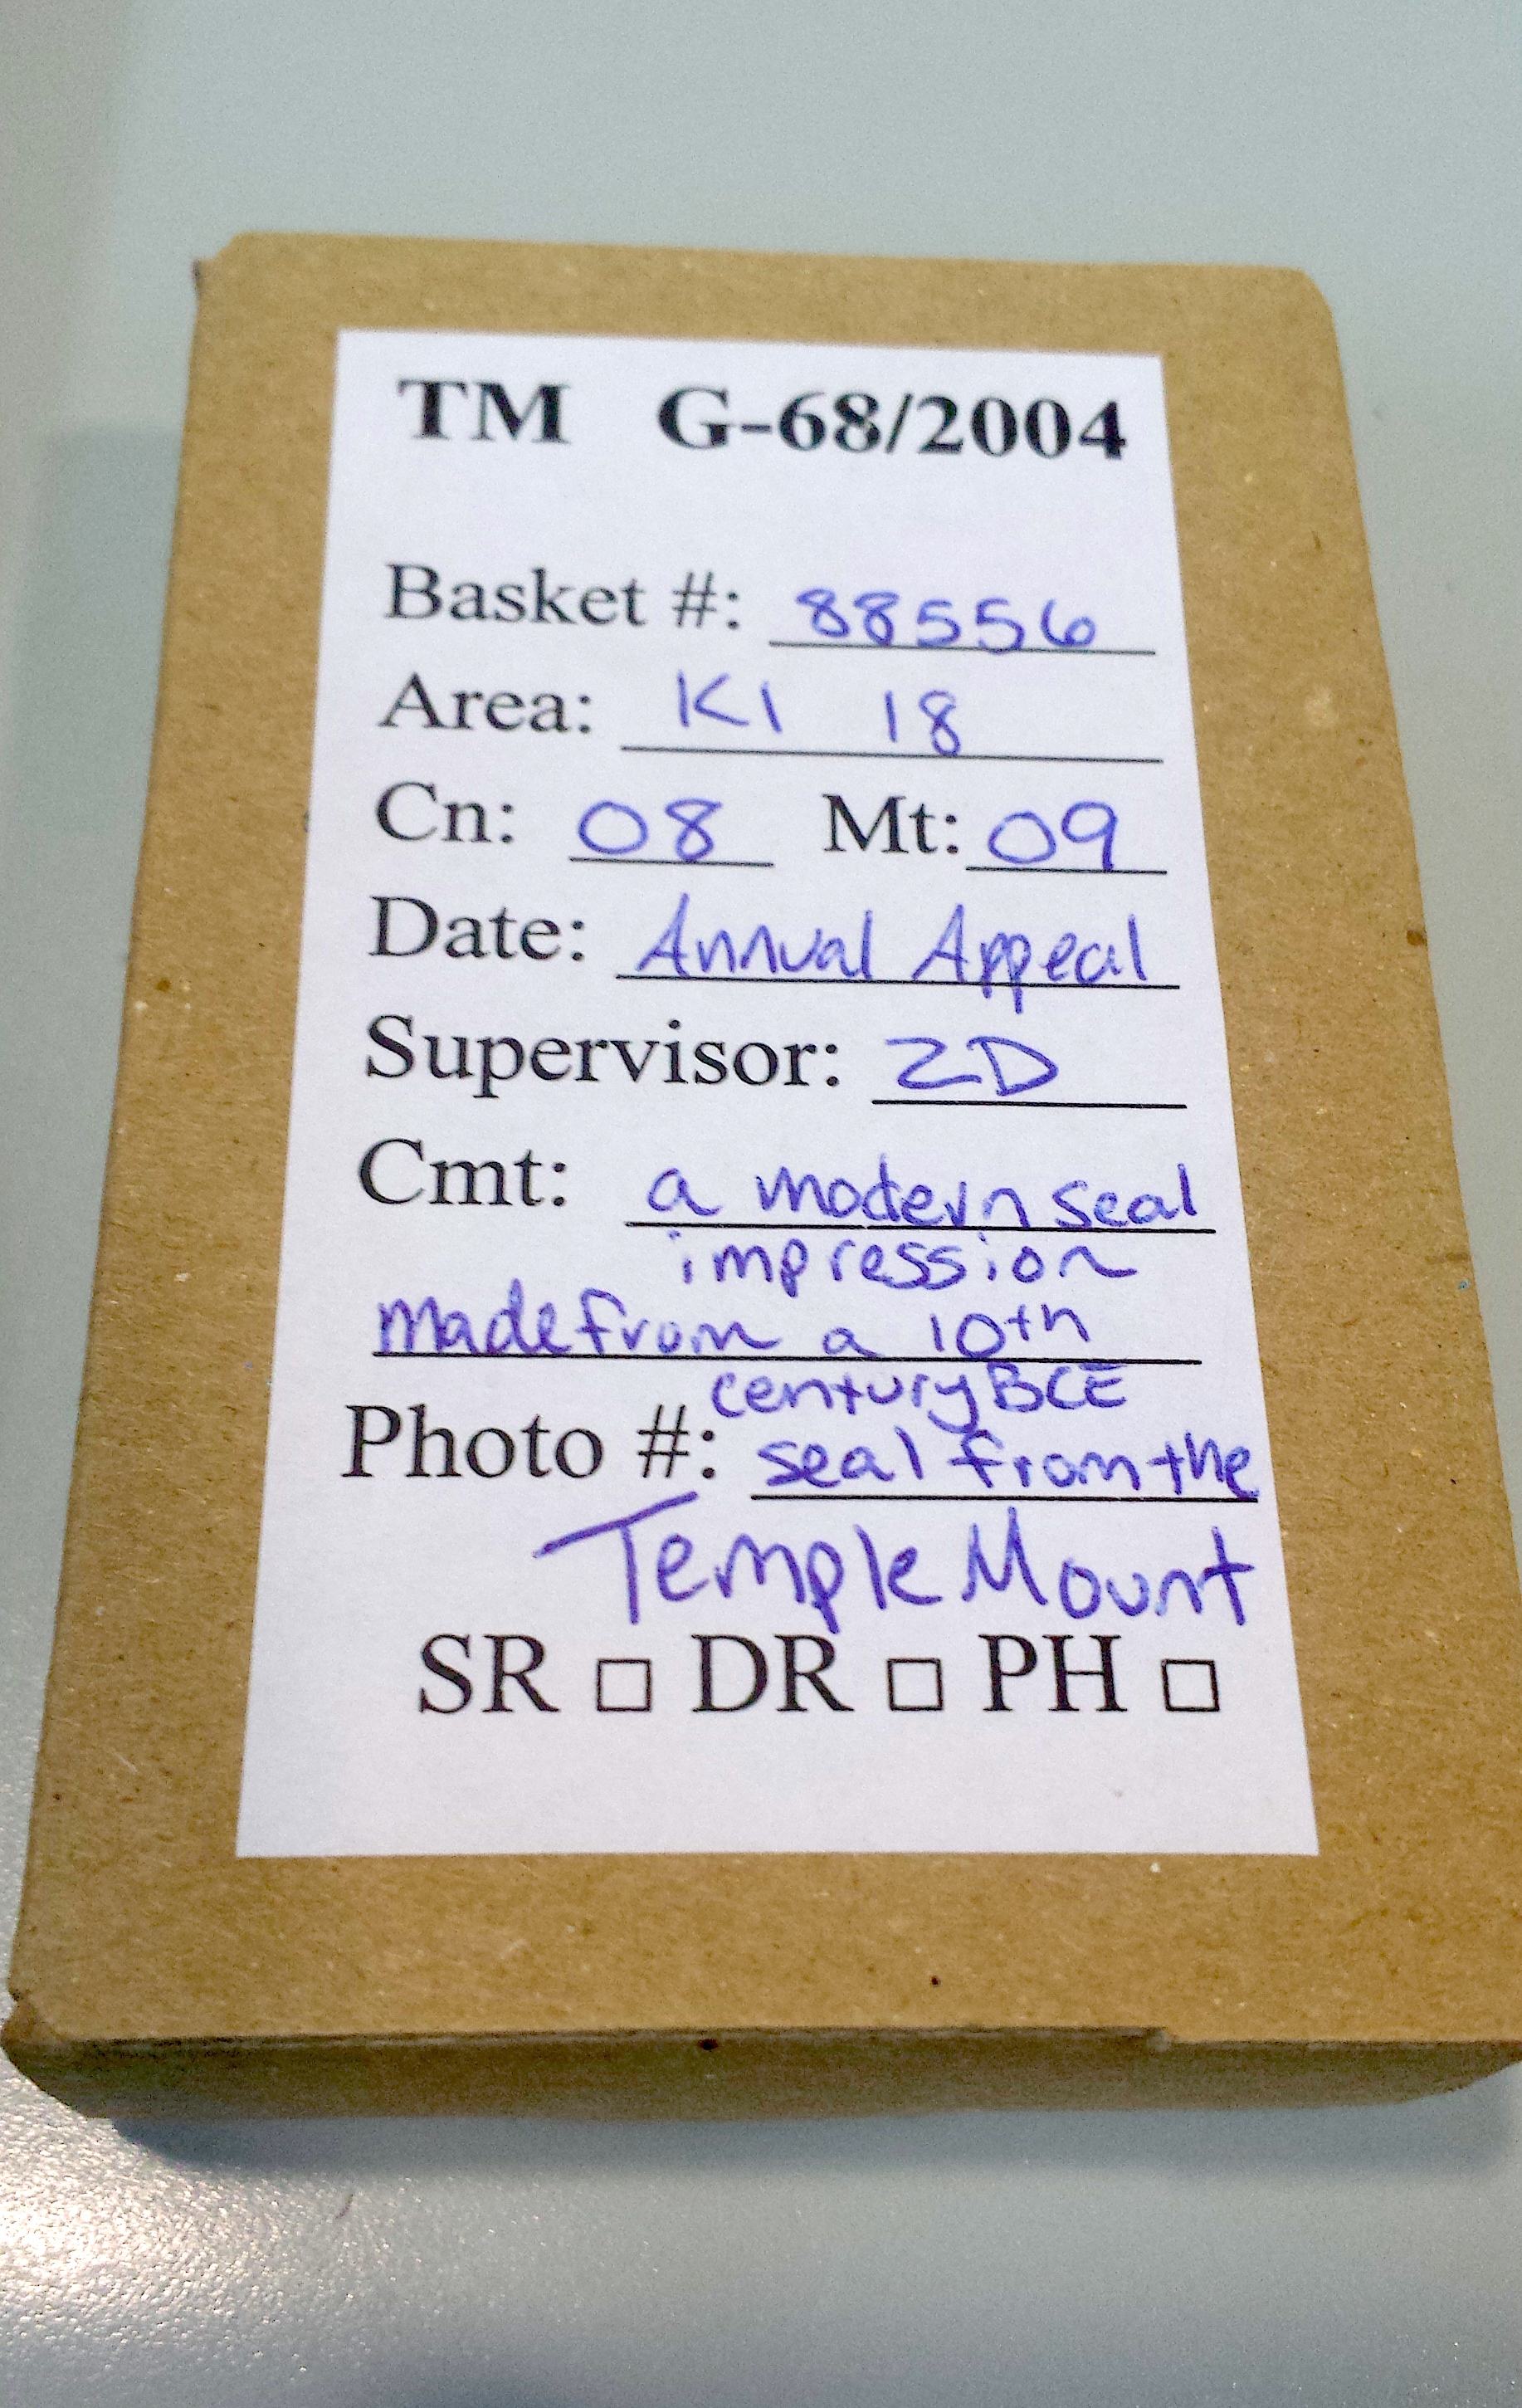 We then boxed them up in the cardboard finds boxes that archaeologists know so well and gave them their own artifact tag. Archaeologists need to label where their important finds were found, so tags always include the site, the area, the locus, and the basket number designating the place that the artifact was found. They also include the date and a short description. Our seal impressions don’t have a real provenance, so the numbers on our tags are the actual numbers from the seal itself!
Watch the whole process!!
I don’t know about you, but this whole process has made me want my own stamp seal. I could send letters sealed in wax! I wonder what the post office would think… I have vivid memories of doing that with my dad and sealing letters with old coins and green wax.
Discover more from The Temple Mount Sifting Project
Subscribe to get the latest posts sent to your email.


Reblogged this on Kattukse Vrienden voor Israël.